By Bart Borg & Ashley Gelderman
In the realm of feed manufacturing, the ingredient mixing stage is a critical process. Yet, how can we verify the quality of this blend? This is where the mixer test comes into play, diligently assessing the variation in nutrient levels within each batch. The significance of this step cannot be overstated, as a uniform mixture is crucial for ensuring optimal animal performance and safety. Join us as we delve into the intricacies of mixing science, explore the factors influencing quality, and recognize the pivotal role that regular mixer tests play in maintaining precise animal nutrition.
While this stage can be measured against the theoretical nutrient values derived from the formula, the true litmus test lies in the quality of ingredient mixing. At this juncture, the formula is meticulously entered into a batching system, triggering the precise weighing and delivery of ingredients to a scale. It’s the mixer’s responsibility to blend all these ingredients evenly throughout the batch. Throughout this intricate process, various “audit” steps are conducted to ensure the scales’ accuracy and the formula’s error-free integration into the batching system. However, amid all these thorough checks, a important question lingers: how do we assess the mixer’s performance?
A mixer test accounts for variation that exists in the measure of a target nutrient/compound within a batch of feed. To perform a mixer efficiency test, you need to take ten different feed samples from one batch of feed. These samples should be taken from the mixer (impractical in most cases) or as close to the mixer as possible. For example, a perfect place to gather mixer test samples is just before the leg elevates the mixed feed. Many times, there will be an opportunity to sample from the transition from mixer surge to the leg. Before you gather the samples, time how long it takes to unload a batch of feed from the mixer.
Once you know the time, divide that amount of time by 10. That will give you an indication of how many seconds should pass before you collect another sample so that the 10 samples are evenly spaced throughout the whole unloading process, making sure not to take the very first or last feed that is passing through. In preparation, label sample bags and have them all laid out before I start the process as it normally takes less than 3 minutes to unload a batch of feed. Samples are then sent off to a lab and results are reported as coefficient of variation (CV) see table 1. As an industry, we select one nutrient or chemical, but we want to make sure it’s only coming from a single ingredient source (i.e., salt, trace minerals, or synthetic amino acids). The amount in each sample is then used to calculate the CV in each sample. As you can see in table 2, the results of this sample are excellent as the salt CV is 6.0%.
The mixing process is one of the most important steps in feed manufacturing. The goal of mixing is to meet label guarantees and produce a uniform feed that provides a similar nutrient content to all animals consuming that feed. Experiments have demonstrated that a uniform feed mixture is important for optimal animal performance and helps to minimize animal food safety hazards related to nutrient toxicity. Scientists at Kansas State University conducted a study to learn what the impact of a quality mix is on young pig performance. The results are shown below in table 3. As you will note, pig performance was improved dramatically as the CV was reduced to an acceptable value.
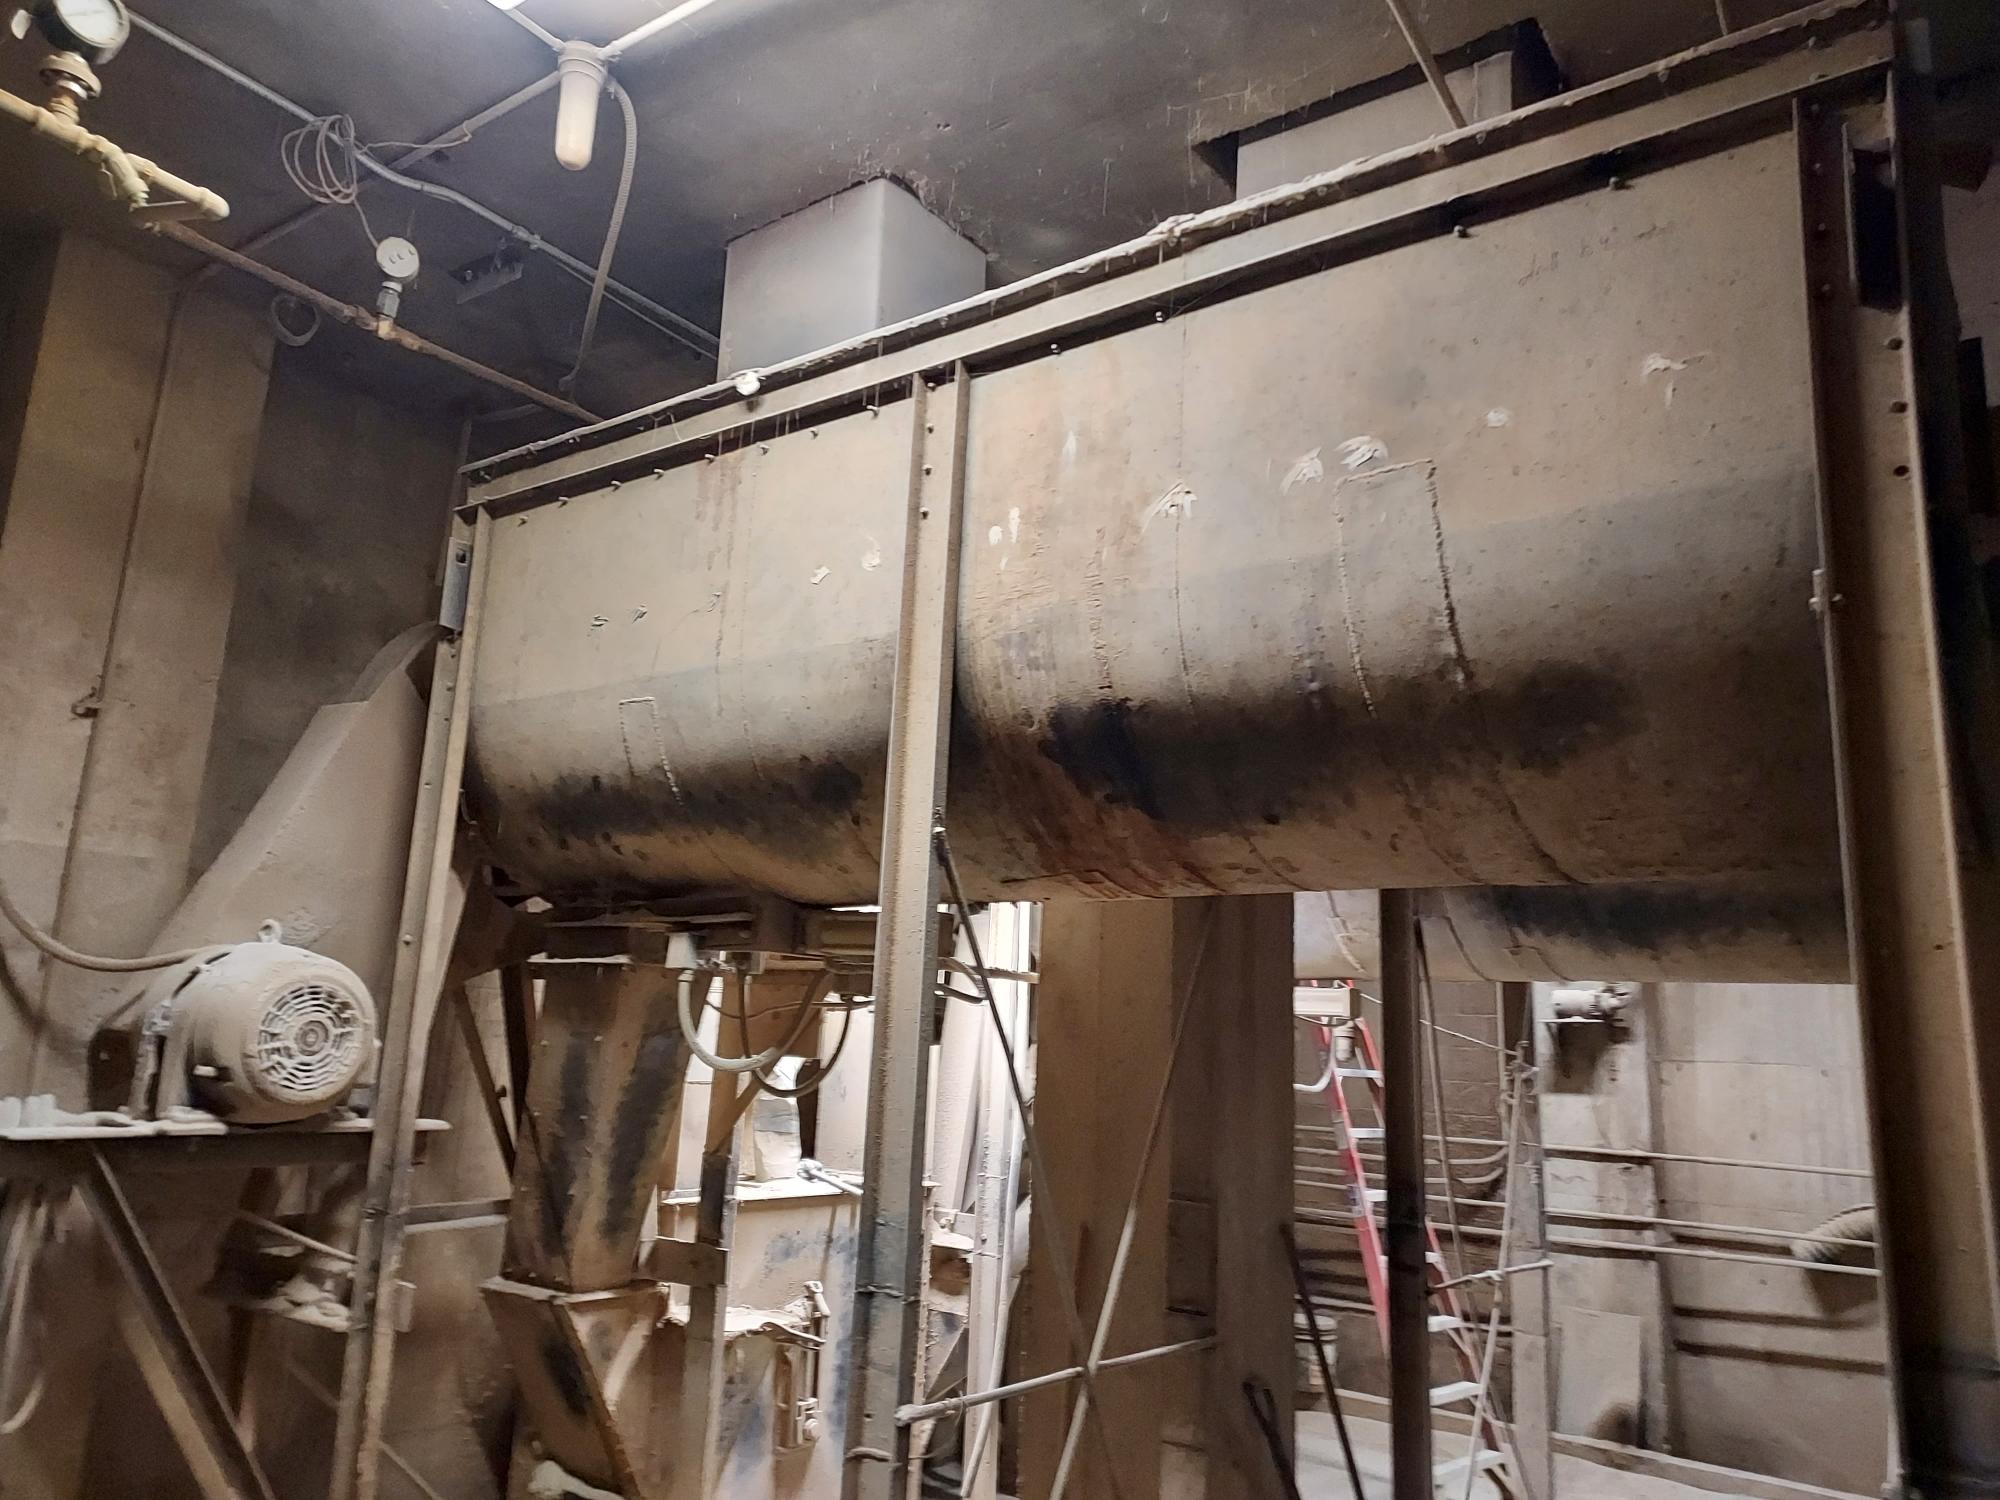
The uniformity of the mix can be affected by many factors including equipment design, ingredient properties, and maintenance of equipment. There are many different designs for mixers and so there are many different mixing quality outcomes. If maintained properly, most mixers will do a quality job of mixing but that will occur over wildly different periods of time. What may be a high-quality mix for one mixer with a 90 second mix time will not be the same for a mixer of a different design. Mixing time is dependent on the design and number of mixing zones within the mixer. For example, vertical mixers have two mixing zones, one at the top and one at the bottom of the center screw. Double ribbon mixers create zones from the opposing direction of the ribbons as they rotate. Double shaft mixers have a multi-directional flow throughout the entire mixer.
Like other equipment, mixers will wear out over time. Primary to mix quality is the wear on ribbons or paddles. As the gap becomes larger between the mixer ribbon and the mixer wall, fine material will be left to settle and not be thoroughly mixed. We also need to be mindful of mixer capacity. Mixer capacity is based on the operating volume of the agitators (paddle or ribbons). Hence, changes in feed density due to the amount and/or type of ingredients can affect the mixer operation (i.e., wheat midds and DDGS have a lighter bulk density).
Filling the mixer beyond its rated capacity creates dead spots above the top of the ribbons or paddles, which can result in improper mixing and not a uniform diet being delivered to the animal. We also need to be mindful of where micro-ingredients enter the mixer as we want to make sure they are not going into dead spots (areas of the mixer where ribbons or paddles do not reach). Additionally, the sequence of ingredient additions and the amount of liquids can affect the uniformity of the mix. Providing a proper mix is critical to ensuring that animals in our care receive the nutrient-dense diet nutritionists have formulated to meet their genetic potential. Mixer tests should be completed at least annually. If you have any questions, please reach out to your Standard Nutrition Services Consultant.
